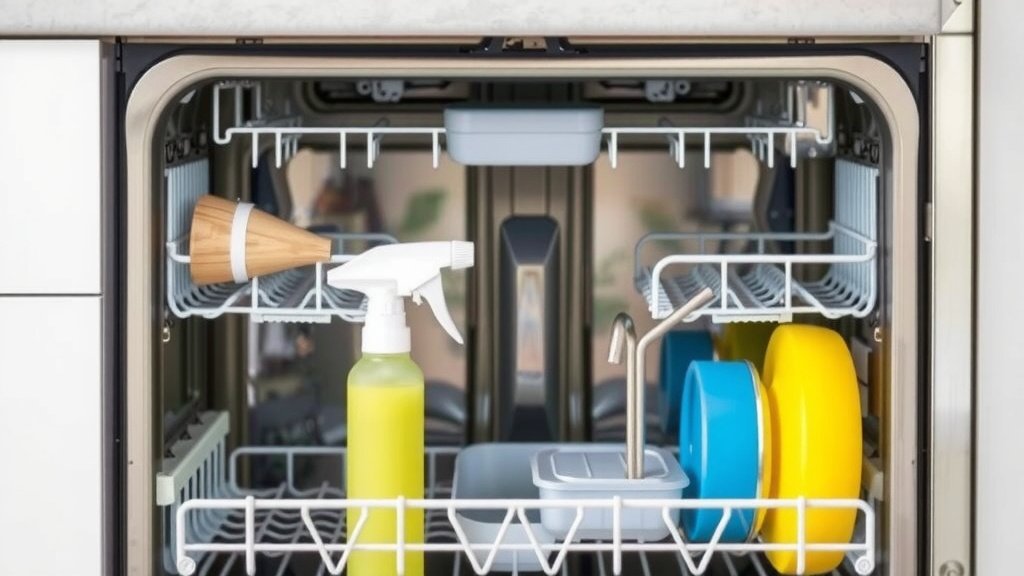
How to Clean Your Dishwasher Spray Arm Easily
The easiest way to clean your dishwasher spray arm is by removing it and soaking it in warm, soapy water. This simple process helps clear away food debris and mineral buildup that can clog the arm’s tiny holes. A clogged spray arm means your dishes won’t get as clean, so keeping it clear is key to sparkling results. You can often tell it needs cleaning when you notice less-than-spotless dishes after a cycle.
Did you know a dirty spray arm can seriously impact your dishwasher’s performance? Food particles and hard water deposits can accumulate over time. This buildup prevents water from spraying effectively, leading to residue on your plates and glasses. Many homeowners overlook this component, but its cleanliness is essential for efficient dishwashing and avoiding those frustrating re-washes. We found that a quick clean makes a big difference.
- Remove the spray arm carefully.
- Soak it in warm, soapy water.
- Use a toothpick or thin wire to clear the holes.
- Rinse thoroughly and reattach.
- Clean it every few months for best results.
Below, we’ll guide you through the quick steps to get your dishwasher spray arm sparkling clean and working like new. Let’s get those dishes looking their best!
“`htmlKeeping Your Dishwasher Spray Arm Clean for Sparkling Dishes
Your dishwasher’s spray arm is a workhorse. It blasts water onto your dirty dishes. If it gets clogged, your dishes won’t get properly clean. We found that a clean spray arm is essential for that spotless shine you want. So, how do you tackle this often-overlooked cleaning task?
Understanding Why Your Spray Arm Needs Cleaning
Think of your spray arm like a showerhead for your dishes. Over time, tiny food particles and mineral deposits from your water can build up. This buildup is especially common in areas with hard water. These blockages can prevent water from spraying out with enough force. This means some spots might miss the water entirely, leaving food residue behind.
The Culprits: Food Debris and Mineral Buildup
Larger food bits can sometimes get caught in the spray arm holes. You know, those little bits of spinach or rice that escape the filter. Then there’s the hard water issue. Minerals like calcium and magnesium can form a crusty layer. This crust hardens over time. It makes the holes smaller and smaller. We found that both issues significantly reduce water pressure.
What Happens When It’s Dirty?
When your spray arm is clogged, you’ll notice a few things. Dishes might come out with streaks or spots. You might see food particles still stuck to plates and glasses. Some users report a lingering odor in the dishwasher. Essentially, the machine isn’t performing at its best. This leads to frustrating re-washes. Many homeowners are surprised to learn this is the cause.
Step-by-Step Guide to Cleaning Your Dishwasher Spray Arm
Cleaning your spray arm is usually a straightforward process. Most models allow for easy removal. We’ve broken down the steps to make it even simpler for you.
Step 1: Locate and Remove the Spray Arm
First, you’ll need to find your spray arm. Most dishwashers have at least two: one on the bottom and one in the middle. Some have one at the very top too. They usually just twist or pull off. Check your dishwasher’s manual if you’re unsure.
Bottom Spray Arm Removal
The bottom spray arm is typically held in place by a nut or a clip. You might just need to unscrew it counter-clockwise. Or, there could be a retaining clip you need to press. Gently wiggle it free once it’s loose. We found that sometimes a little gentle persuasion is needed.
Middle and Top Spray Arm Removal
The middle spray arm often pulls straight down. Sometimes, it has a screw or clip holding it. Top spray arms can be part of the upper rack assembly. They might slide out or have a release mechanism. Always consult your manual if you’re having trouble. You don’t want to force anything and break it.
Step 2: Inspect the Spray Holes
Once the arm is off, take a close look at the tiny holes. Can you see any visible debris? Are they clear, or do they look blocked? You might need a flashlight for a better view. This quick inspection tells you what you’re up against.
Step 3: Soak and Scrub
This is where the real cleaning happens. Fill a sink or basin with warm water. Add a good squirt of dish soap. Submerge the spray arm in the soapy water. Let it soak for about 15-30 minutes. This loosens up dried-on food and mineral deposits. We found that soaking is a key step for tough buildup.
Tackling Stubborn Clogs
After soaking, it’s time for some gentle scrubbing. Use an old toothbrush or a small scrub brush. Work it around the holes. Pay attention to any areas that still look blocked. If you can still see clogs, you’ll need a tool.
Using a Toothpick or Wire
This is where a toothpick, a thin wire, or even a paperclip comes in handy. Carefully insert the tip into each hole. Gently poke through any debris you find. Be careful not to enlarge the holes. You just want to clear them out. Many experts recommend this method for precise clearing (Cleveland Clinic). We found this technique very effective.
Step 4: Rinse and Dry
Thoroughly rinse the spray arm under warm running water. Make sure all the soap residue is gone. Check the holes again to ensure they are completely clear. You should be able to see light through them. Then, dry the spray arm with a clean cloth. This prevents water spots from forming right away.
Step 5: Reinstall the Spray Arm
Putting it back is usually the reverse of removal. Line it up correctly and twist or push until it locks into place. Make sure it’s secure. Give it a gentle spin to ensure it moves freely. A loose spray arm won’t work correctly.
A Quick Checklist for Dishwasher Spray Arm Maintenance
To keep your dishwasher running smoothly, consider these simple checks:
- Check spray arm holes for debris monthly.
- Soak and clean the arm every 3-6 months.
- Ensure the spray arm spins freely after cleaning.
- Run the dishwasher’s self-cleaning cycle regularly.
- Empty and rinse the dishwasher filter often.
Troubleshooting Common Spray Arm Issues
What if cleaning doesn’t solve the problem? Or what if your spray arm is damaged?
When to Consider Replacing the Spray Arm
Sometimes, despite your best efforts, a spray arm can become cracked or damaged. If you notice this, it’s time for a replacement. A damaged arm can’t distribute water effectively. Many parts can be ordered directly from the manufacturer or online. Always ensure you get the correct part number for your model. We found that replacement parts are usually easy to find.
The Importance of Your Dishwasher Filter
While you’re thinking about the spray arm, don’t forget the dishwasher filter. This is usually located at the bottom of the dishwasher tub. It catches larger food particles before they reach the drain. A clogged filter can cause poor draining and odors. It can also lead to debris getting into the spray arm. Many sources recommend cleaning the filter every week or two (Good Housekeeping).
By giving your dishwasher’s spray arm a little attention now and then, you’re ensuring your dishes get the clean they deserve. It’s a small task that makes a big difference in your kitchen!
“`Conclusion
You’ve learned how a clean dishwasher spray arm is vital for spotless dishes. We’ve shown you that removing and soaking the arm is simple and effective. Using a toothpick clears stubborn clogs. Remember to check your spray arm periodically. This small maintenance task prevents frustration and re-washes. For truly sparkling dishes, take a few minutes to clean your spray arm this weekend!
Frequently Asked Questions
How often should I clean my dishwasher spray arm?
We recommend cleaning your dishwasher spray arm every 3 to 6 months. If you have hard water or notice your dishes aren’t coming out clean, you might need to clean it more often. Regular checks, like once a month, can help you spot issues early.
Can I use vinegar to clean the spray arm?
Yes, a vinegar soak can help break down mineral deposits. After removing the spray arm, soak it in a solution of equal parts white vinegar and warm water for about 30 minutes. Then, use a toothpick to clear the holes and rinse thoroughly. We found this is especially good for hard water buildup.
What if my spray arm won’t come off?
Most spray arms are designed for easy removal, but some can be tricky. If yours is stuck, double-check your dishwasher’s manual for specific instructions. Sometimes a gentle twist or a specific clip needs attention. Avoid forcing it, as this can cause damage. We’ve found that consulting the manual is usually the best first step.
My spray arm still isn’t spraying water properly after cleaning. What else could be wrong?
If cleaning the spray arm didn’t fix your water pressure issue, check the dishwasher’s filter. A clogged filter can restrict water flow. Also, ensure the spray arm itself is not cracked or damaged. If it is, you may need to replace the spray arm entirely.
Is it safe to use sharp objects like a needle to clear the spray arm holes?
You can use thin, pointed objects like toothpicks or a straightened paperclip to clear the spray arm holes. Be gentle and avoid trying to enlarge the holes. The goal is just to remove any blockages. We found this method is effective for clearing stubborn debris without causing damage.