Can You Wash Sippy Cups in the Dishwasher? A Safe Guide
Yes, you can wash most sippy cups in the dishwasher — and it’s actually one of the easiest ways to keep them clean. Just check the label first, because some materials like silicone parts or painted designs may not hold up to high heat. Most brands marked dishwasher-safe will do just fine on the top rack.
Here’s the thing, though: not every sippy cup part should go through the same cycle. Valves, straws, and small pieces can trap milk residue or get tossed around by the spray. Many experts recommend placing small parts in a mesh bag or basket so nothing ends up melting on the heating element. We also found that a quick rinse before loading makes a big difference in how well the dishwasher cleans them.
Quick TL;DR:
- Most sippy cups are dishwasher-safe — check the bottom or packaging to be sure.
- Use the top rack to keep parts away from direct heat.
- Put small pieces like valves and straws in a mesh bag or basket.
- Rinse cups first so milk doesn’t dry and stick.
- Let everything air dry completely to prevent mold.
Below, we break down everything you need to know about washing sippy cups the right way — which parts go where, what to avoid, and a few tricks we picked up along the way. Let’s dive in.
How to Wash Sippy Cups in the Dishwasher the Right Way
Washing sippy cups in the dishwasher works best when you load them correctly. The short version: rinse first, top rack only, small parts contained. That’s it. Now let’s walk through the details so nothing comes out still smelling like yesterday’s milk.
We found that most dishwasher failures with sippy cups come down to three things: wrong rack, loose parts, and dried-on milk. Fix those, and you’re golden.
Checking If Your Sippy Cup Is Dishwasher-Safe
Flip the cup over. Look at the bottom or the packaging. You’re hunting for a symbol of dishes with water droplets, or plain text that says dishwasher-safe. Most major brands print this somewhere.
Don’t see anything? That doesn’t automatically mean trouble. Hard plastics like polypropylene usually handle the dishwasher fine. But soft silicone, painted designs, and anything wooden deserve a hand wash instead. When in doubt, wash it gently by hand — a ruined cup costs more than thirty seconds at the sink.
Materials That Can Handle the Heat
Not all plastics are created equal. Some laugh at hot water; others warp like a cheap toy left in a hot car. Our guide to dishwasher-safe plastics explains which types can handle the heat and which belong at the sink.
| Material | Dishwasher-Safe? | Notes |
|---|---|---|
| Polypropylene plastic | Yes | Top rack recommended |
| Tritan plastic | Yes | Very heat-tolerant |
| Silicone (cups, valves) | Usually | Top rack; check the label |
| Stainless steel | Yes | Keep away from detergent reactions with salt |
| Painted or decorated plastic | No | Hand wash to protect the design |
| Wooden parts | No | Heat causes cracking |
Parts You Should Wash by Hand
Valves and straws with tiny slits are the usual suspects. High heat can weaken silicone valves over time, and a worn valve means leaks all over your couch. If you’ve ever opened your dishwasher to find a valve melted onto the heating coil, you know exactly what we mean.
Many pediatric health guides suggest inspecting valves regularly for cracks or stiffness. If it looks tired, replace it. They’re cheap.
Loading the Dishwasher: Where Each Part Goes
Placement matters more than most parents realize. Here’s the breakdown we use:
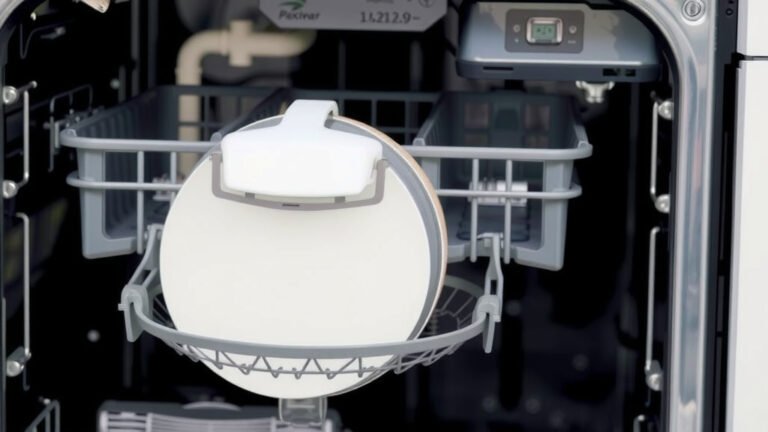
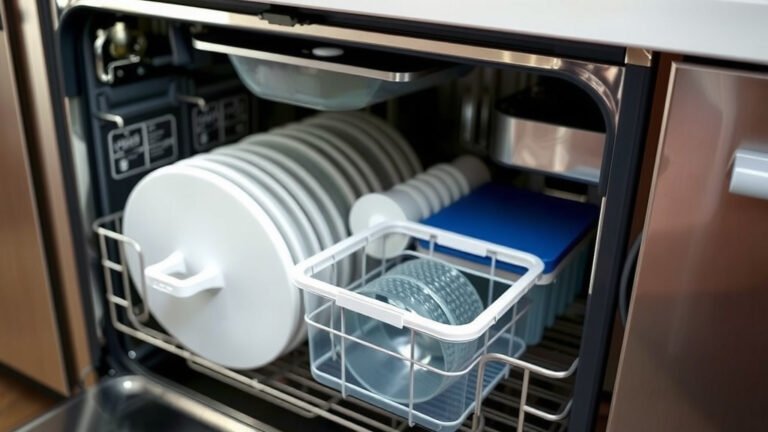
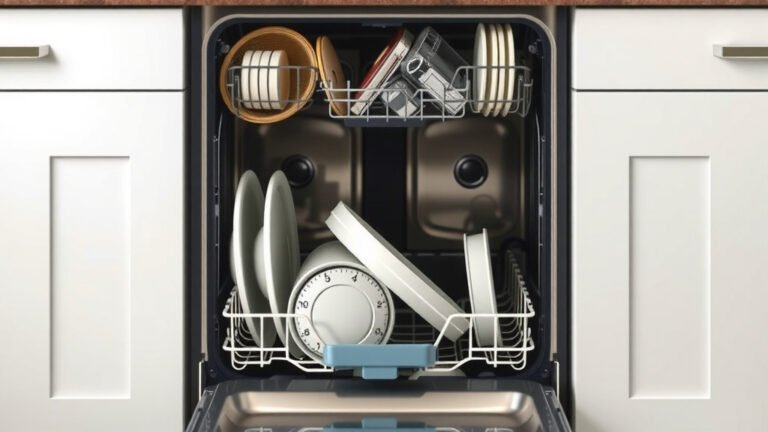
- Cups and bottles: Top rack, upside down. The bottom rack sits close to the heating element, and heat rises, so the top gets plenty of cleaning without the scorch risk.
- Straws and valves: A mesh bag or closed basket. Loose parts will travel. Some will end up in the filter. One will mysteriously disappear forever.
- Lids: Top rack, face down or in the slots between tines so water can reach inside.
- Rings and spouts: Same basket as the small parts. They roll away otherwise.
Why the Top Rack Is Non-Negotiable
Most dishwashers put their heating element at the bottom. Plastics sitting on the lower rack get blasted with direct heat and can melt or warp. The CDC’s cleaning guidance for feeding items also notes that hot water and heat are fine for sanitizing — but your cup still needs to survive the process to be useful.
Think of the top rack as the kids’ table: safe, comfortable, and exactly where your sippy cup parts belong.
Prepping Sippy Cups Before Loading
A quick rinse before loading makes a huge difference. Milk dries fast and turns into a sticky film that dishwasher spray struggles to remove. We found that rinsing cups within an hour of use keeps residue from baking on during the wash cycle.
Take the cup apart fully, too. A cup loaded whole traps milk inside the spout, and no cycle on earth will clean that out. Unscrew everything, separate the parts, then rinse.
Dealing with Sour Milk Smells
Ever opened a “clean” sippy cup and nearly passed out from the smell? Sour milk residue hides in valves and spout seams. Try one of these fixes:
- Run the part through a hot cycle with a small amount of white vinegar added to the rinse aid compartment.
- Soak the valve and spout in warm, soapy water for 15 minutes before the next wash.
- Use a small bottle brush to scrub inside spouts and straws by hand.
- If the smell survives all that, replace the valve. Silicone holds odors stubbornly.
Dishwasher Detergent and Settings for Baby Cups
Regular dishwashing detergent is fine for sippy cups. Many experts say there’s no need for special soap on dishwasher-safe items, as long as you rinse them well after (and your dishwasher does that anyway). Skip tablets with added rinse chemicals if your child is very young and you’re concerned — many parents prefer plain detergent for baby items.
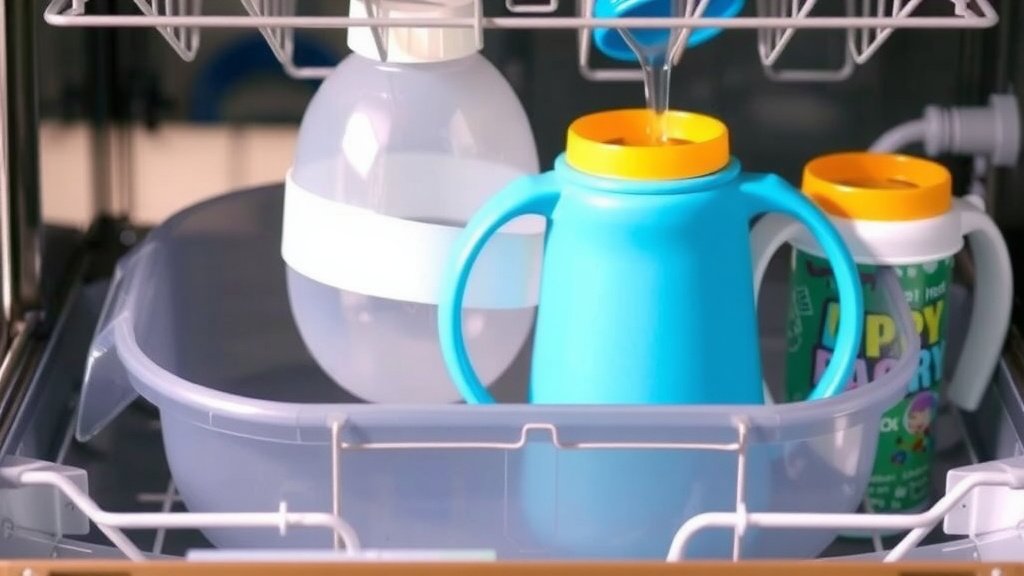
Use a normal or eco cycle with a heated dry turned off. Heated dry bakes leftover drops into spots and adds unnecessary heat stress to plastic parts.
Should You Use a Sanitize Cycle?
If your dishwasher has one, a sanitize cycle is a great option for post-illness deep cleans. The CDC notes that sanitizing feeding items helps kill lingering germs, especially after your child has been sick. For everyday washing, a normal cycle with hot water is plenty. No need to run the nuclear option every night.
After the Wash: Drying and Storage
Here’s the step everyone skips, and it’s the one that causes mold. Sippy cup parts must dry completely before you reassemble them. A sealed valve with a drop of water inside becomes a tiny science experiment within days.
Lay everything out on a clean drying rack or towel. Give valves and straws extra time, since water loves to hide inside them. Once fully dry, store the parts assembled loosely or in a clean drawer — not sealed tight while any moisture remains.
How Often Should You Deep Clean Sippy Cups?
Daily dishwasher runs handle the routine. But once a week, we recommend a deeper session: soak parts in warm soapy water, scrub spouts with a brush, and check valves for wear. The NIH notes that trapped moisture and organic residue in feeding equipment can support bacterial growth, so that weekly scrub is your mold insurance.
Your Quick Dishwasher Checklist for Sippy Cups
Pin this list to the fridge. Future you will appreciate it.
- Take the cup apart completely before loading.
- Rinse every part to remove milk residue.
- Load cups and lids on the top rack only.
- Tuck valves and straws into a mesh bag or basket.
- Skip heated dry; use air drying instead.
- Confirm all parts are fully dry before reassembling.
Common Mistakes to Avoid
A few habits quietly sabotage even the best dishwasher routine:
- Loading cups upright. Water pools inside and never rinses clean. Always load upside down.
- Skipping the mesh bag. Loose valves wander, and some end up near the heating element.
- Reassembling while damp. This is the number-one cause of that musty smell you can’t trace.
- Using the bottom rack. Direct heat warps plastic and loosens silicone over time.
- Ignoring worn valves. A tired valve leaks and traps residue. Replace it without guilt.
Avoid these, and your sippy cups will come out clean, dry, and ready for the next juice-filled adventure.
Conclusion
Washing sippy cups in the dishwasher isn’t just possible — it’s the smartest way to keep up with the daily mountain of dirty cups. The whole system boils down to three habits: rinse right after use, load everything on the top rack, and contain the small parts. Skip heated dry, let everything air out fully, and you’ll avoid both warped cups and musty smells. We found that once this routine clicks, it takes less than a minute per cup. Your next step? Grab a mesh bag for those runaway valves tonight, and run your first properly loaded cycle tomorrow morning. Future you — and your kitchen counter — will thank you.
Frequently Asked Questions
Can dishwasher detergent leave residue on sippy cups?
Modern dishwashers rinse thoroughly, so leftover detergent on sippy cups is unlikely if you use the right amount of soap. Overloading the machine is the usual culprit behind film on plastics. If you notice residue, run a lighter load and check that your rinse aid compartment isn’t overfilled.
Can you wash sippy cups with milk in them without rinsing first?
You can, but you probably won’t like the results. Dried milk bonds to plastic and silicone, and even a full cycle often leaves a sour film behind. A five-second rinse at the sink saves you from re-washing everything by hand later.
Do sippy cups need to be sterilized after every wash?
For healthy toddlers, a regular hot dishwasher cycle is plenty for everyday cleaning. Sterilizing makes sense for newborns, after illness, or when a cup sat unwashed for days. Your dishwasher’s sanitize setting covers those situations without extra equipment.
Why does my sippy cup smell even after dishwashing?
The smell almost always lives inside the valve or straw, where water spray can’t reach. Silicone also absorbs odors over time, especially from milk left sitting in a warm cup. If a scrub and hot cycle don’t fix it, swapping in a fresh valve usually does.
Can stainless steel sippy cups go in the dishwasher?
Most stainless steel sippy cups are dishwasher-safe on the top rack, but check the manufacturer’s label first. Watch for a few things: painted exteriors can chip, and insulated double-wall cups can trap water between the layers. Always separate the parts and dry them completely.