Can You Wash a Blender in the Dishwasher? A Quick Guide
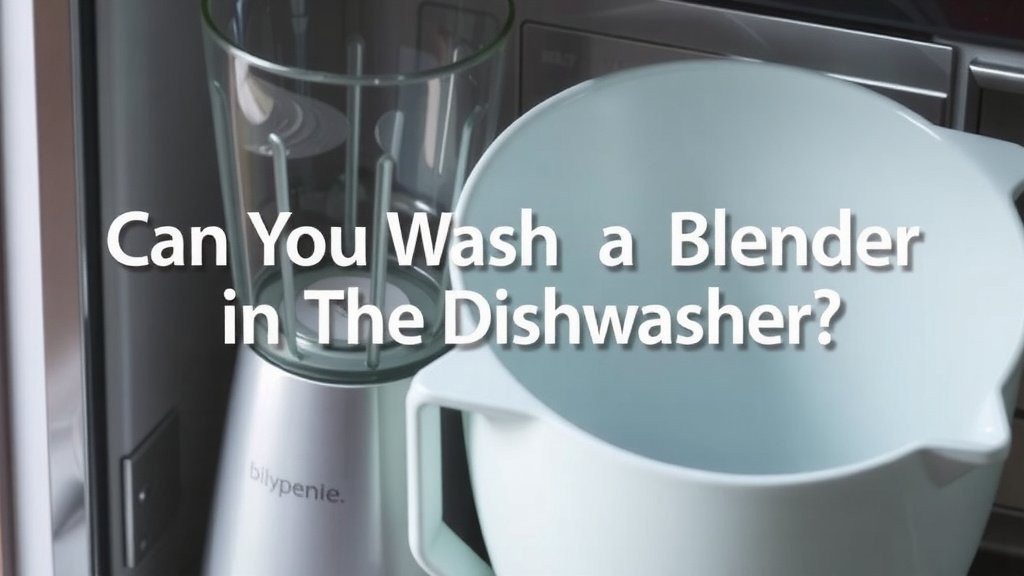
Yes, you can wash most blenders in the dishwasher, but there’s a catch. The jar and lid are usually safe, while the motor base must never go near water. The blades? Those are best washed by hand to keep them sharp.
Here’s the thing not everyone knows. Many blender manufacturers, like Vitamix and Ninja, actually design their jars to be dishwasher safe. But heat and harsh detergent can wear down rubber gaskets and dull blades over time. We researched what the big brands recommend, and the answers surprised us.
- Most blender jars and lids are dishwasher safe, usually on the top rack.
- The motor base should only be wiped clean with a damp cloth.
- Blade assemblies last longer when washed by hand.
- Hot water and strong detergents can damage rubber seals over time.
- Always check your blender’s manual before loading it in.
So how do you know what’s safe for your specific blender? And what’s the best way to clean it without trashing it? Below, we break down everything you need to know about washing your blender the right way, step by step.
Which Blender Parts Are Dishwasher Safe?
The short answer: the jar, lid, and often the jar base ring can go in the dishwasher. The motor base and cord never can. We found that most brands split their parts into three clean-up zones.
Think of it like laundry. Towels can handle hot water, but that silk shirt? Hand wash only. Your blender works the same way, part by part.
- Jar — usually top-rack safe (check for Tritan or glass labeling).
- Lid and plug — top rack, away from the heating element.
- Blade assembly — hand wash to keep the edges sharp.
- Gaskets and seals — hand wash to protect the rubber.
- Motor base — never submerge. Wipe only.
What the Big Blender Brands Actually Say
We looked at the care manuals from the most popular brands. Not every company agrees, and the differences matter.
| Brand | Jar | Blades | Base |
|---|---|---|---|
| Vitamix | Most jars top-rack safe | Hand wash | Wipe only |
| Ninja | Jars and lids top rack | Hand wash | Wipe only |
| Blendtec | Jar dishwasher safe | Hand wash | Wipe only |
| Oster | Glass jars safe | Hand wash | Wipe only |
| Budget brands | Varies — check manual | Hand wash | Wipe only |
One pattern shows up across every manual we read. Dishwasher washing is allowed, but hand washing is the recommended default. The dishwasher is a convenience, not the ideal method.
Why the Top Rack Matters
The top rack sits farther from your dishwasher’s heating element. Bottom racks get hotter and take direct spray from below. That combo can warp plastic jars and loosen rubber seals faster.
Many dishwasher makers, including guidance shared by the EPA’s Energy Star program, note that heat settings vary widely between machines. Your “normal” cycle might run hotter than your neighbor’s. The top rack is simply the safer bet.
How Heat and Detergent Wear Down Your Blender
Here’s the part nobody tells you at the register. Dishwasher detergent is strong stuff. It’s designed to strip baked-on food, so it also strips protective coatings and dries out rubber.
We found that repeated cycles can cause three common problems:
- Cloudy jars. Harsh detergents etch plastic over months of washes.
- Cracked seals. Rubber gaskets dry out, shrink, and leak.
- Dull blades. Knocking around in the rack chips the fine edge.
None of this happens overnight. But if you blend smoothies daily, those small hits add up. Like running your car through an automatic wash every single day, it works — it just ages things faster.
The Cloudy Jar Problem
Ever pulled a plastic container from the dishwasher looking foggy? That film is etching. Minerals and abrasive detergent literally scratch the surface. Glass jars don’t have this issue, which is one reason some blenders still use glass.
If your jar is already cloudy, a rinse with white vinegar and warm water can reduce the haze. It won’t fully reverse it, but it helps.
How to Wash a Blender Jar in the Dishwasher the Right Way
Ready to load it up? Follow this quick checklist to protect your parts.
- Rinse the jar right after use so nothing dries on.
- Remove the blade assembly before loading.
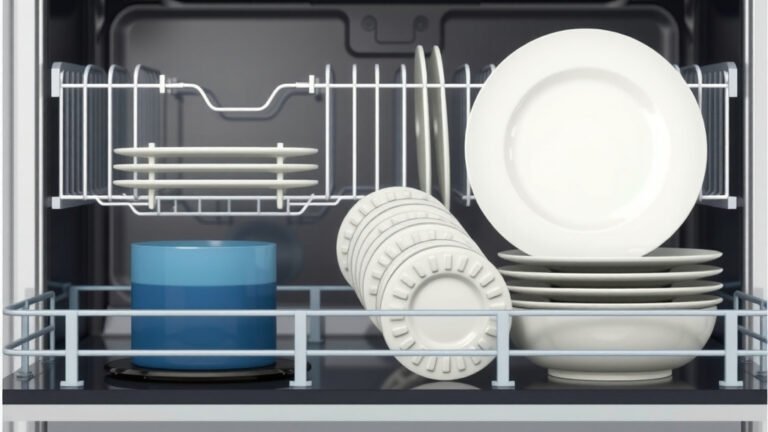
- Place the jar upside down on the top rack.
- Skip the heated dry cycle if your machine allows it.
- Use a gentle or eco cycle when possible.
- Hand dry the rubber gasket before reassembling.
That last step sounds fussy, but it matters. Trapped moisture against rubber is how that musty smell sneaks in. Nobody wants smoothie number three to smell like a gym bag.
When You Should Never Use the Dishwasher
Some situations take the dishwasher off the table completely. Watch for these red flags.
- Your manual says hand wash only — believe it.
- The jar is vintage or has a glued-on handle.
- You notice a cracked or worn gasket already.
- The blades have any visible chips or wobble.
- Your jar is a non-brand replacement with no safety label.
Food safety matters here too. The USDA notes that dishwashers sanitize through heat, but a damaged blender part can trap bacteria in cracks. If a part is compromised, replace it rather than wash it harder.
What About the Rubber Gasket?
The gasket is the rubber ring that seals your blade assembly to the jar. It’s the most fragile part of the whole machine. Heat hardens it, and a hardened gasket leaks.
Many experts say hand washing this one part is the single best thing you can do for blender longevity. Pop it off if your model allows, rinse it, and let it air dry. Thirty seconds of effort, years of extra life.

The Best Way to Hand Wash Your Blender Instead
Here’s a trick that saves you from scrubbing almost entirely. Right after blending, add a drop of dish soap and warm water to the jar. Run it on high for 30 to 60 seconds.
That self-cleaning spin handles 90 percent of messes. Pour, rinse, and you’re basically done. For sticky blends like nut butter or protein shakes, use warm water — hot water can bake protein residue onto the blades.
Tackling Stains and Odors
Tomato soup and turmeric smoothies leave their mark. For stains, we found that a paste of baking soda and water works well. Let it sit for ten minutes, scrub lightly, rinse.
For odors, a 50/50 mix of water and white vinegar, spun in the jar for 30 seconds, does the trick. Rinse well after. Your next strawberry smoothie will thank you.
Cleaning the Motor Base Without Ruining It
The base holds the motor and electrical wiring. Water and electricity don’t mix, so this part stays dry — always. Unplug it first, every time.
Then simply wipe it down:
- Use a damp (not soaked) cloth with a drop of dish soap.
- Wipe the base, buttons, and the coupler area where the jar sits.
- Follow with a dry cloth so no moisture lingers.
- Clean spills immediately, especially oils, which can degrade plastic.
The Mayo Clinic’s food safety guidance points out that kitchen appliances harbor bacteria when food residue builds up. A weekly wipe of your blender base takes under a minute and keeps things hygienic.
Dishwasher vs. Hand Washing: Which Should You Choose?
So which method wins? Honest answer: both, used wisely. The dishwasher is perfect for busy weeks and deep cleaning the jar. Hand washing is better for blades, gaskets, and daily quick cleans.
Many blender owners land on a hybrid routine. Quick self-clean spin after every use, dishwasher for the jar once or twice a week, blades always by hand. It’s the best of both worlds — and your blender will quietly thank you with every smooth, lump-free blend.
Conclusion
So, can you wash your blender in the dishwasher? Yes — the jar and lid, on the top rack, most of the time. But the parts that make your blender last are the ones that need a gentler touch. Blades stay sharp with a quick hand wash, gaskets stay pliable away from heat, and the base just needs a damp cloth.
We found that the happiest blender owners use a simple routine: a 30-second self-clean spin after each use, the dishwasher for the jar when you’re in a hurry, and careful hand washing for everything else. Tonight, do one small thing — pull out your blender’s manual and check what the manufacturer says. Thirty seconds now can add years to your machine.
Frequently Asked Questions
Can you put a blender jar in the bottom rack of the dishwasher?
We don’t recommend it. The bottom rack sits closer to the heating element and takes the harshest spray, which can warp plastic jars and loosen seals. The top rack is the safer spot for any blender part. When in doubt, keep it high and away from heat.
Is it safe to wash a glass blender jar in the dishwasher?
Yes, glass jars handle the dishwasher better than plastic ones. Glass won’t get cloudy or etched the way plastic can. Just check your manual first, since some glass jars have glued handles or attached parts that shouldn’t soak in hot water.
What happens if water gets inside the blender motor base?
Water can damage the motor and wiring, and it may create an electrical hazard the next time you plug it in. If your base got soaked, unplug it immediately and let it dry completely for a couple of days in a warm spot. If it still won’t run, contact the manufacturer instead of testing it yourself.
Can I wash blender blades in the dishwasher if I use a utensil basket?
A utensil basket does help keep blades from knocking around, but the hot water and strong detergent can still dull the edge over time. If you choose the dishwasher, place blades securely in the basket and use a gentle cycle. Hand washing is still the better long-term choice.
How often should I deep clean my blender?
We found that a quick rinse after each use plus one thorough cleaning per week works well for most people. For a deep clean, disassemble the blade assembly and gasket, scrub each part with warm soapy water, and let everything air dry before reassembling. Blending vinegar water once a month also keeps odors away.