How to Plumb a Dishwasher: A Step-by-Step Guide
Plumbing a dishwasher yourself is a manageable DIY project. With the right tools and careful planning, you can connect your dishwasher’s water supply and drain lines successfully. Many homeowners find they can complete this task over a weekend. Successfully plumbing your dishwasher means less reliance on expensive repair services.
This process involves two main connections: hooking up the water supply and linking the drainage. You’ll need to understand your home’s existing plumbing. We found that having a clear understanding of your local plumbing codes is also very helpful. Properly installing these connections prevents leaks and ensures your dishwasher operates efficiently.
- Connect the water supply line to the hot water pipe.
- Attach the dishwasher’s drain hose to your sink’s drain or garbage disposal.
- Ensure all connections are secure to prevent leaks.
- Test the connections for any signs of water.
Ready to get started? Let’s walk through exactly how to plumb your dishwasher, step by step, making sure you feel confident every step of the way.
“`htmlConnecting Your Dishwasher: A Step-by-Step Guide
Plumbing a dishwasher is a task many homeowners can tackle. It involves making two main connections: the water supply and the drain line. We found that careful preparation and following these steps make the process much smoother. Let’s get your dishwasher ready to wash those dishes!
Gathering Your Tools and Materials
Before you begin, make sure you have everything you need. This will save you trips back to the hardware store. Having the right tools on hand is key to a successful installation. We recommend collecting these items first.
Essential Tools You’ll Need
- Adjustable wrench or pipe wrench
- Channel-lock pliers
- Screwdrivers (Phillips and flathead)
- Pipe cutter (for copper or PEX tubing)
- Drill and bits (if needed for mounting)
- Bucket and old towels
- Safety glasses and work gloves
- Flashlight
Required Materials for Plumbing
You’ll also need a few specific parts to make the connections. Your dishwasher likely came with some, but it’s good to double-check.
- Dishwasher installation kit: This usually includes a new supply line, fittings, and a drain hose clamp.
- Dishwasher supply line: Typically a braided stainless steel hose, about 3-5 feet long. Check your local codes; some may require a specific type of valve.
- Dielectric unions or brass fittings: If connecting copper pipes to a different metal, these prevent corrosion. Many experts suggest using them.
- Plumber’s tape (Teflon tape): For sealing threaded connections.
- Drain hose adapter: If your drain hose doesn’t fit directly onto your sink drain or disposal.
- Hole saw bit (if needed): For drilling through cabinetry if you need to run lines.
Understanding Your Existing Plumbing
Your home’s current plumbing system is the foundation for this project. You’ll need to identify where to tap into your water supply and where the drain line will go. This step is critical for preventing leaks and ensuring everything works correctly.
Locating the Water Supply Connection
Dishwashers require hot water. You’ll need to find the hot water pipe under your kitchen sink. Often, there’s already a shut-off valve installed specifically for the dishwasher. If there isn’t one, you’ll need to install one. We found that shutting off the main water supply to your house before doing this is the safest approach.
Identifying the Drainage Point
The dishwasher’s drain hose needs to connect to your sink’s drain plumbing or your garbage disposal. Most installations connect to the vertical pipe above the P-trap under the sink. Some disposals have a specific inlet port for the dishwasher drain. Many plumbing guides recommend connecting to the garbage disposal if you have one, as it helps clear the drain line.
Connecting the Water Supply Line
This is where the water enters your dishwasher. It’s important to make a secure, leak-free connection. We found that using a new supply line is the best way to prevent potential issues. Always work with the water turned off.
Shutting Off the Water
First, find the hot water shut-off valve under your sink. Turn it clockwise until it’s snug. If you can’t find a dedicated valve or are unsure, shut off the main water supply to your entire house. Open a faucet elsewhere in the house to relieve pressure. We learned that leaving water pressure in the lines can cause a mess!
Attaching the Supply Line to the Valve
Connect one end of your new dishwasher supply line to the shut-off valve. Hand-tighten the fitting, then use a wrench to snug it up another half to a full turn. Do not overtighten, as this can damage the threads. Many kits use a simple compression fitting, which doesn’t require plumber’s tape.
Connecting to the Dishwasher
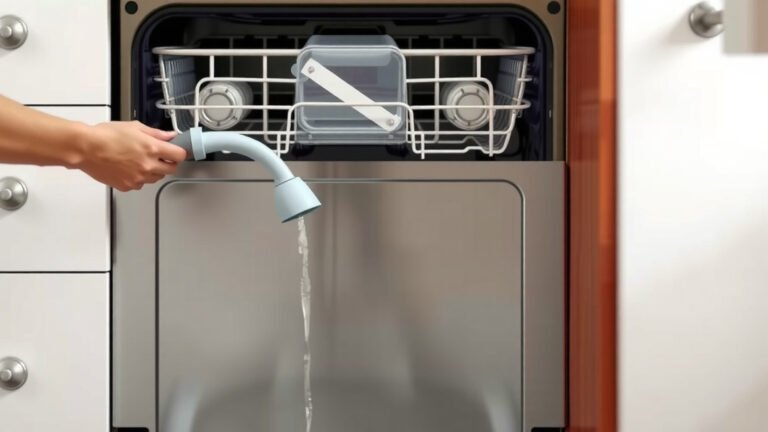
The other end of the supply line connects to the water inlet valve on your dishwasher. This is usually located at the bottom front of the appliance. Again, hand-tighten the fitting, then use a wrench to secure it. Refer to your dishwasher’s manual for the exact location and any specific instructions. We found that keeping the line from kinking is important for proper water flow.
Installing the Drain Hose
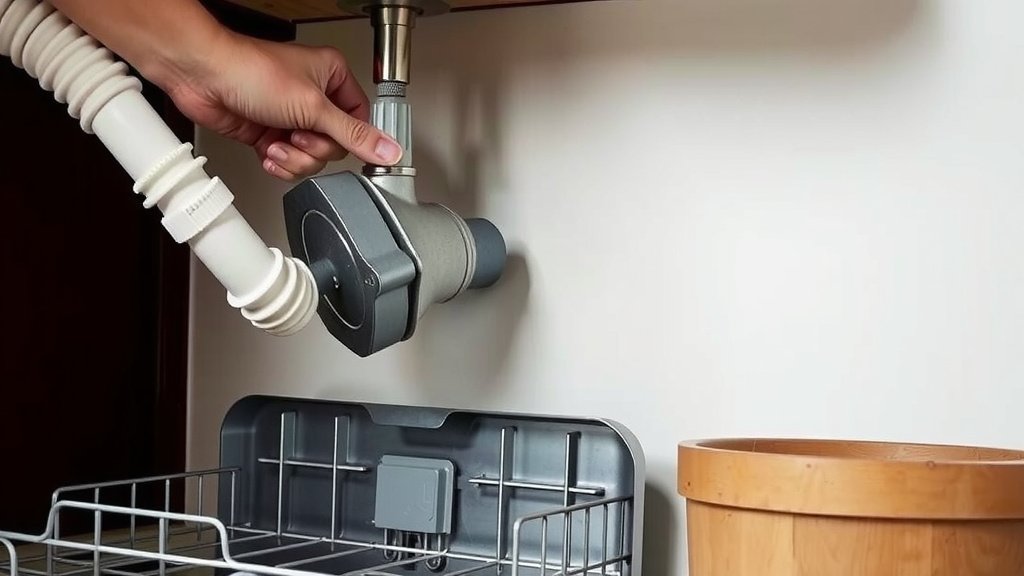
The dishwasher needs a place to send the dirty water. This drain hose connection is vital for preventing your dishwasher from flooding. We found that a high loop in the drain hose is often required by code and helps prevent backflow.
Preparing the Drain Connection Point
If you’re connecting to a garbage disposal, look for a knockout plug inside the dishwasher inlet port. You’ll need to remove this. Use a screwdriver and hammer to tap the plug out. Be sure to retrieve the plug from inside the disposal. If connecting to a sink drain pipe, you might need a special fitting or a “Y” branch adapter. Many plumbers suggest cutting into the vertical pipe above the trap.
Securing the Drain Hose
Attach the dishwasher drain hose to the prepared connection point. Use a hose clamp to secure it tightly. This prevents the hose from coming loose during the drain cycle. Make sure the hose has a high loop, extending up to the underside of your countertop before it connects to the drain. This “air gap” prevents dirty sink water from siphoning back into the dishwasher. Some local codes require an air gap device installed on the countertop itself.
Using Plumber’s Tape
For threaded connections, apply plumber’s tape. Wrap it clockwise around the threads 2-3 times. This creates a watertight seal. We found that using it on supply line connections and any drain pipe fittings helps prevent leaks.
Final Checks and Testing
You’re almost done! It’s time to make sure everything is secure and ready for water. A little attention now can save you a lot of headaches later.
Tightening All Connections
Go back over all the connections you made. Gently tighten any fittings that feel loose. Remember, snug is good, but overtightening can cause damage. Use your wrench and pliers carefully.
Testing for Leaks
Slowly turn the water supply back on. Watch all the connections you made for the supply line very closely. Check for any drips or signs of moisture. Let the water run for a minute or two. Then, start a short rinse cycle on your dishwasher. Keep an eye on both the water supply and drain connections during the cycle. We found that paper towels can help you spot tiny leaks more easily.
Checklist for a Successful Hookup
- Water supply valve is fully open.
- Supply line connections are snug and leak-free.
- Drain hose is securely clamped.
- Drain hose has a high loop or air gap.
- No water is visible at any connection points.
- Dishwasher passed a short test cycle without leaks.
Conclusion
You’ve successfully navigated the steps to plumb your dishwasher! Connecting the water supply and drain lines yourself is absolutely achievable. Remember, securing all connections and performing a thorough leak test are your final guarantees for a job well done. This project saves you money and gives you confidence in your home maintenance skills. Now, go ahead and run that first load – you’ve earned it!
Frequently Asked Questions
What if I can’t find a hot water shut-off valve under my sink?
If there isn’t a dedicated shut-off valve for the dishwasher, your safest bet is to turn off the main water supply to your entire house. This ensures no water will flow when you begin your connections. Open a faucet elsewhere to release any residual pressure before proceeding.
Do I really need to make a “high loop” for the drain hose?
Yes, the high loop is very important. It creates an air gap that prevents dirty water from your sink or garbage disposal from siphoning back into your clean dishes. Many plumbing codes require this for proper drainage and sanitation.
What kind of fittings should I use when connecting to copper pipes?
If you’re connecting a dishwasher supply line to copper pipes, use dielectric unions or brass fittings. These prevent galvanic corrosion, which can occur when two different metals are in contact with water. This simple step can save you from future plumbing problems.
How tight should I make the supply line connections?
You want them snug, but not overly tight. Hand-tighten the fitting first, then use a wrench to tighten it about a half to a full turn more. Overtightening can strip the threads or damage the fitting, leading to leaks.
Can I connect the dishwasher drain directly into the sink drain pipe without a garbage disposal?
Yes, you can connect it to the sink drainpipe, usually by installing a special fitting or a “Y” branch adapter above the P-trap. Ensure the connection is secure and that you still create a high loop for the drain hose to prevent backflow.