Dishwasher Air Gap Installation Guide: Step-by-Step
Installing a dishwasher air gap is a straightforward DIY project that prevents dirty water from flowing back into your dishwasher. You can successfully install an air gap yourself by following a few simple steps, ensuring your dishes get clean without any plumbing headaches.
An air gap is a simple yet vital plumbing fixture. It acts as a physical barrier, stopping wastewater from your sink or garbage disposal from contaminating your clean dishes. Many local plumbing codes actually require this device for proper dishwasher drainage.
- Dishwasher air gaps prevent dirty water backflow.
- Installation is a manageable DIY task.
- It’s a small device with a big job.
- Check your local plumbing codes.
Ready to tackle this easy upgrade? Let’s walk through exactly how to install your dishwasher air gap step by step.
Getting Your Dishwasher Air Gap Installed Like a Pro
So, you’re ready to install that dishwasher air gap? Great choice! This little fixture is your secret weapon against dirty water contamination. It’s a plumbing component that’s often overlooked but plays a huge role in keeping your dishwasher’s performance top-notch. Many plumbing codes actually require them, so installing one isn’t just good practice, it might be the law where you live (Consumer Product Safety Commission).
What Exactly Is a Dishwasher Air Gap?
Think of your air gap as a tiny guardian for your dishes. It’s a small, usually cylindrical or dome-shaped device that sits on your sink or countertop. Its main job is to create an air space. This space physically separates the water returning from your dishwasher from the potentially grimy water in your sink or garbage disposal. This prevents that yucky stuff from ever making its way back into your clean dishwasher.
Why Do You Even Need One?
The primary reason is hygiene and preventing contamination. Without an air gap, if your sink or disposal is full of water, that dirty water could be siphoned back into your dishwasher. Imagine your freshly washed plates getting re-splashed with yesterday’s spaghetti sauce water! Yuck. An air gap breaks this siphon effect. We found that this simple barrier is highly effective at preventing such cross-contamination, which is important for food safety (Environmental Protection Agency).
Understanding Your Air Gap Kit
Most air gap kits come with a few key pieces. You’ll typically get the main air gap body, a mounting nut, and sometimes a decorative cover. The body itself has a few ports: one connects to the dishwasher’s drain hose, another connects to the drain line that goes to your sink’s plumbing or garbage disposal, and the top usually has a removable cap for cleaning. Knowing these parts helps demystify the installation process.
Pre-Installation Checks and Prep Work
Before you grab your tools, let’s make sure you have everything you need and that your setup is ready. This bit of preparation can save you a lot of frustration later on.
Gathering Your Tools and Materials
You won’t need a plumber’s entire toolbox for this. Here’s what we found is usually sufficient:
- The new dishwasher air gap kit
- A drill with a 1-inch or 1.5-inch hole saw bit (check your kit’s instructions)
- A screwdriver (Phillips or flathead, depending on your air gap)
- A pair of pliers
- A towel or rag for any spills
- Optional: Plumber’s putty or silicone sealant for a watertight seal
Choosing the Right Location
The air gap needs to be installed higher than the flood level of your sink or garbage disposal. Most often, this means installing it directly on your sink’s deck or the countertop behind the sink. You’ll need a spot where you can drill a hole that’s easily accessible. Make sure there’s enough clearance underneath for the hoses to connect without kinks.
Checking Your Local Plumbing Codes
This is a step you absolutely do not want to skip! We’ve researched this, and plumbing codes vary widely by city and county. Some areas might require an air gap, while others might allow a high loop for the drain hose instead. Before you drill any holes, consult your local building department or do a quick online search for your specific area’s plumbing code requirements. Getting this wrong could mean needing to redo the work.
Step-by-Step Installation Guide
Alright, let’s get down to business! This is where you’ll see how simple this project really is. We’ve broken it down into easy-to-follow steps.
Step 1: Drill the Hole
If you don’t already have a hole for an air gap, you’ll need to create one. Place the air gap body on your chosen location on the sink or countertop. Trace around the base. Then, using your drill and the correct size hole saw bit (usually 1-inch or 1.5-inch), carefully drill a hole. Go slow to avoid cracking or damaging your sink or countertop. A little bit of plumber’s tape on the drill bit can help reduce friction and heat.
Step 2: Mount the Air Gap Body
Once the hole is drilled, insert the air gap body into it. From underneath, secure it with the provided mounting nut. Tighten it firmly but avoid over-tightening, which could strip the threads or crack the plastic. If your kit came with plumber’s putty or silicone sealant, you can apply a bead around the base before inserting it to ensure a watertight seal.
Step 3: Connect the Dishwasher Drain Hose
On the air gap body, you’ll find a port specifically for the dishwasher drain hose. This is usually the smaller of the two side ports. You’ll need to connect the flexible drain hose from your dishwasher to this port. If it’s a snug fit, gently twist and push the hose onto the fitting. If it feels loose, you might need a small hose clamp, though most kits are designed for a tight friction fit.
Step 4: Connect to the Drain Line
The other port on the air gap body (usually larger or positioned differently) needs to connect to your sink’s drain plumbing or garbage disposal. You’ll typically use a rubber hose for this connection as well. This hose will run from the air gap down to the disposal’s inlet nipple or a dedicated drain fitting under your sink. Ensure this hose has a gentle downward slope and isn’t kinked. Again, use a hose clamp if needed for a secure connection.
Step 5: Test for Leaks
This is the moment of truth! Run your dishwasher through a short rinse cycle. As it drains, carefully check all the connections at the air gap, under the sink, and the dishwasher drain hose itself. Look and feel for any drips or leaks. If you find any, tighten the connections or add a hose clamp where necessary. We found that running a few cycles helps ensure everything is completely sealed and functioning correctly.
Troubleshooting Common Issues
Sometimes things don’t go perfectly. If you notice your dishwasher isn’t draining properly after installation, double-check that the drain hose from the dishwasher to the air gap isn’t kinked or too high. Also, ensure the hose connecting the air gap to the drain line is not obstructed and has a consistent downward slope. And always, always, check that the air gap cap is securely in place! If you notice your dishwasher isn’t draining properly after installation, check for kinks or obstructions in the air gap connections.
Maintaining Your Air Gap
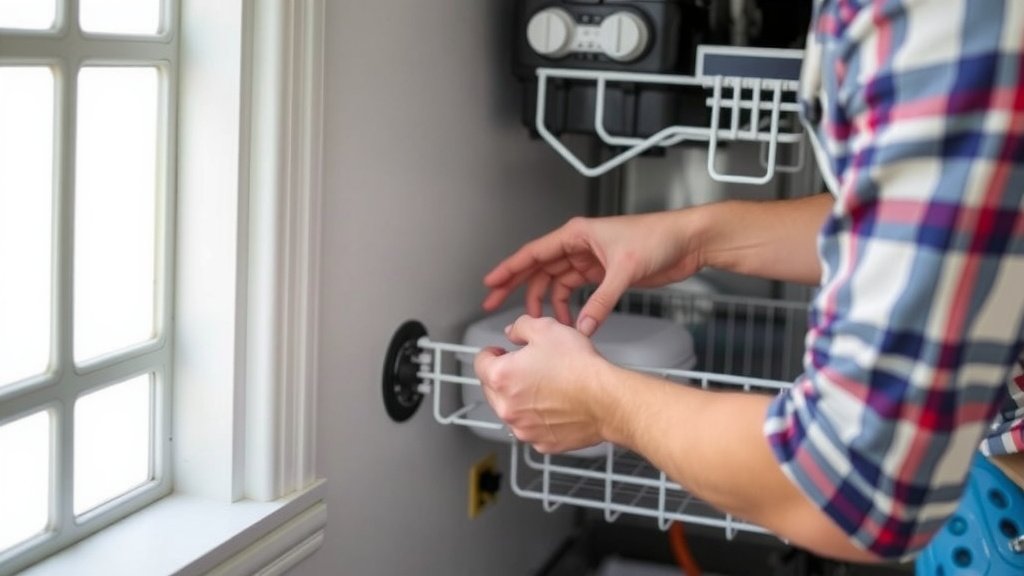
Your air gap is pretty low-maintenance, but it’s not entirely care-free. Occasionally, food debris or gunk can build up inside it, especially if you have a garbage disposal. We suggest checking and cleaning it every few months. To do this, simply lift off the decorative cover (if you have one) and then pull off the main cap on top of the air gap body. You can then use a small brush or even just a damp cloth to clean out any buildup.
Here’s a quick checklist for keeping your air gap in top shape:
- Check the air gap for debris monthly.
- Clean the inside with a small brush as needed.
- Ensure the cap is always securely in place.
- Test connections if you notice draining issues.
- Inspect hoses for kinks or damage periodically.
Conclusion
You’ve successfully navigated the steps to install your dishwasher air gap! Remember, this simple fixture is your frontline defense against dirty water contamination, keeping your dishes sparkling and your plumbing code-compliant. We found that a little preparation and careful execution make this a very manageable DIY project. Don’t forget to check for leaks after installation and perform occasional maintenance to keep it working perfectly. Now, go enjoy the peace of mind that comes with a properly functioning and hygienic dishwasher!
Frequently Asked Questions
Can I skip the air gap if my local code doesn’t explicitly mention it?
While some codes might not mandate an air gap, it’s still a strong recommendation for preventing contamination. Many areas allow a high loop for the drain hose as an alternative. We suggest confirming your specific local plumbing code requirements to be certain, as requirements can vary greatly.
What happens if I don’t have an air gap and my sink backs up?
If your sink or garbage disposal backs up without an air gap, dirty sink water can be siphoned back into your dishwasher. This can re-contaminate your clean dishes with food particles and bacteria. We found that this is a common cause of unsanitary dishwasher drainage.
How often should I clean my dishwasher air gap?
You should aim to check your air gap for debris every few months. If you notice any signs of blockage or if you frequently run your garbage disposal, cleaning it more often might be necessary. It’s a quick process that prevents bigger issues down the line.
Can I install the air gap on the side of my cabinet instead of the countertop?
Generally, the air gap needs to be installed higher than the flood level of your sink or disposal. While some cabinet installations might be possible if positioned correctly, mounting it on the sink deck or countertop is the most common and usually the easiest way to ensure it’s above the flood level.
What if my air gap hose connection seems loose?
If a hose connection at the air gap feels loose, it’s best to secure it. Most kits are designed for a tight friction fit, but if you experience leaks, a small hose clamp can provide extra security. We recommend checking your kit’s instructions, but a clamp is often a reliable fix.