Does Your Dishwasher Connect to the Garbage Disposal
Yes, your garbage disposal does not connect to the dishwasher through a direct pipe. Instead, the dishwasher drains into a separate hose that connects to a port on the side of the garbage disposal unit. We found that this setup lets the disposal grind up any food bits in the dishwasher water before it heads to your main drain line.
This connection is a standard part of most kitchen plumbing layouts. It keeps larger food particles from clogging your pipes, and it’s actually a code requirement in many places. You’ll see a small metal or plastic inlet where the dishwasher hose slides in, usually secured with a hose clamp.
- Dishwasher drains into the disposal side port, not through the main disposal chamber.
- The connection is a simple hose clamp you can usually tighten with a screwdriver.
- Proper setup helps prevent clogs in your kitchen sink drain line.
- Air gap or high-loop is required for the dishwasher hose to stop backflow.
- Missing knock-out plug is a common issue that causes water to leak everywhere.
Below, we break down exactly how this hookup works, what to check if water is backing up, and the steps to install or fix the connection yourself. Let’s walk through it together so your kitchen runs smoothly again.
How Your Dishwasher and Garbage Disposal Connect
You might think these two appliances just share the same under-sink space. But they actually work together through a simple hose setup. Your dishwasher pushes wastewater into a small port on the side of your garbage disposal. From there, the disposal grinds up any food scraps before sending everything down the main drain.
This connection is pretty clever when you think about it. The dishwasher catches food particles from your plates. Instead of letting those bits clog your pipes, the disposal chews them up first. We found that most modern homes use this exact setup to keep drains flowing freely.
Why Do They Connect in the First Place?
Plumbers didn’t just decide to link these two appliances for fun. There’s a real reason behind the design. Dishwashers rinse off food residue, and that water has to go somewhere. Sending it through the disposal gives those food bits a second chance to be broken down.
Many experts say this connection helps prevent buildup in your drain lines. Over time, even small food pieces can create nasty clogs. The disposal acts like a security guard, breaking down debris before it travels too far. It’s a simple but effective system that keeps your plumbing healthy.
The Parts That Make the Connection Work
You don’t need to be a plumber to understand what’s under your sink. There are just a few key pieces that create this connection. Let’s break them down so you know what you’re looking at.
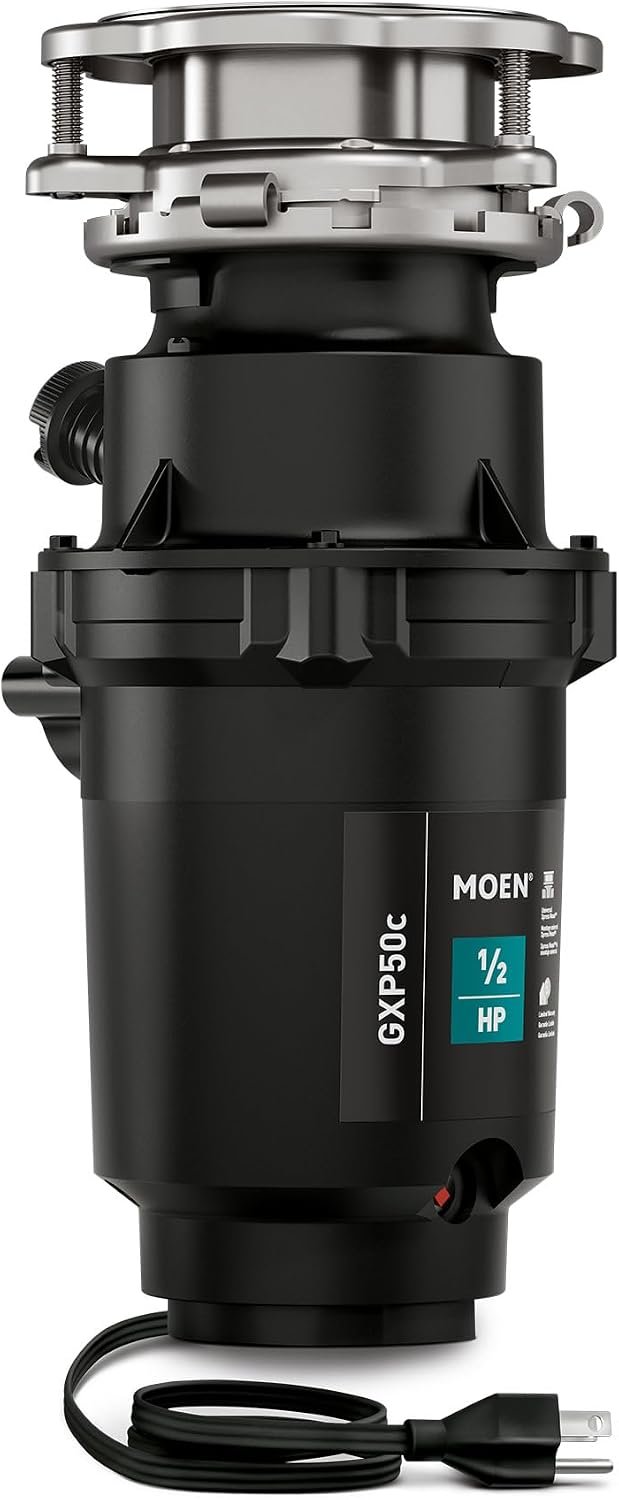
- The discharge port is the small opening on the side of your disposal where the dishwasher hose attaches.
- The hose clamp is usually a metal ring that holds the hose securely in place.
- The dishwasher drain hose carries wastewater from your dishwasher to the disposal.
- The knock-out plug is a small plastic or metal plug you must remove before connecting a dishwasher.
- The air gap is a small device on your countertop that prevents dirty water from flowing backward.
If any of these parts fail, you might notice leaks or strange odors. Most issues are simple fixes you can handle yourself with basic tools.
Getting the Dishwasher and Disposal Hookup Right
Installation isn’t rocket science, but you do need to pay attention to a few things. We found that most DIY mistakes happen during this step. Don’t worry — we’ll walk you through what matters most.
The first thing you’ll want to check is whether your disposal has the knock-out plug removed. Many people install a new disposal and forget this tiny but important step. Without removing it, water has nowhere to go but out of the top of the unit.
Removing the Knock-Out Plug
This little plug is your dishwasher’s entry point into the disposal. You’ll find it inside the discharge port on the side. Before your dishwasher can drain properly, you need to pop this plug out.
Here’s the trick we recommend: use a flathead screwdriver and a hammer. Place the screwdriver against the plug and give it a firm tap. The plug will fall inside the disposal, and you can fish it out with pliers. Some manufacturers include a special tool for this, so check your manual first.
What Happens If You Skip This Step?
If you leave the plug in, water will back up and spill out around the top of the disposal. It can look like a major leak, but it’s actually just a straightforward fix. You’ll also hear gurgling sounds from your dishwasher when it drains. That’s water struggling to find an exit.
Many people call a plumber for this issue, but you can solve it in about two minutes. Just remember: the knock-out plug must go. This is the most common DIY pitfall we see with new installations.
Attaching the Dishwasher Hose Correctly
Once the plug is out, you’re ready to connect the hose. Slide the dishwasher hose over the port on the side of the disposal. Make sure it goes on straight and covers the entire opening evenly.
Then, take your hose clamp and position it over the connection point. Tighten it with a screwdriver until it’s snug but not overly tight. You want a secure fit that won’t leak, but you also don’t want to strip the screw or crush the hose.
A loose connection will drip water every time your dishwasher runs. You’ll see a small puddle forming under the sink. Tightening the clamp usually solves this right away. If it doesn’t, the hose might be cracked and need replacing.
Preventing Dirty Water From Flowing Backward
Nobody wants dishwasher water backing up into your clean dishes, right? That’s where backflow prevention comes in. This is a critical part of the connection that keeps your water safe and clean.
Many guidelines recommend using an air gap, especially in newer homes (Local plumbing codes). This small device sits on your countertop and provides a physical break in the hose. It ensures that if your drain gets clogged, water won’t flow back into the dishwasher.
High-Loop Method vs. Air Gap
If you don’t have an air gap, a high-loop is your next best option. This method involves routing the drain hose up high under the counter before it comes back down to the disposal. The loop traps potential backflow before it can reach the dishwasher.
| Feature | Air Gap | High-Loop |
|---|---|---|
| Visibility | Visible on countertop | Hidden under sink |
| Installation | More complex | Simple routing change |
| Effectiveness | Higher protection | Good, but depends on setup |
| Cleaning | Needs occasional cleaning | Little to no maintenance |
| Code compliance | Required in many areas | Accepted in some areas |
Check your local building codes before choosing a method. Some places mandate an air gap, while others accept the high-loop. This isn’t something you want to guess on — getting it wrong can compromise your drinking water safety.
Why Backflow Is a Real Concern
Dirty dishwater contains food particles, grease, and potentially harmful bacteria. If that water flows back into your dishwasher, it can contaminate clean dishes sitting on the racks. You might even notice a foul smell when you open the door.
This isn’t just a gross problem — it’s a health concern. Public health guidelines emphasize preventing cross-contamination between wastewater and clean water (CDC). That’s why the air gap or high-loop matters so much for your safety.
Troubleshooting Common Connection Problems
So what happens when things go wrong? You’re not alone if you’ve dealt with leaks, gurgles, or standing water. We’ve rounded up the most common issues and how to tackle them. Most are simple enough for a weekend DIYer to handle.
Water Leaking Around the Hose
The most common culprit here is a loose hose clamp. Over time, the rubber hose can shrink or shift slightly. Re-tightening the clamp often solves the problem in seconds. If that doesn’t work, inspect the hose for cracks or splits.
Old hoses get brittle and can develop tiny holes you can’t easily see. Run your hand along the hose while the dishwasher drains. You’ll feel wet spots where leaks are happening. Replacing a dishwasher hose is inexpensive and takes less than 15 minutes.
Checking for a Proper Seal
Sometimes the hose just isn’t seated correctly on the port. Pull it off and push it back on, making sure it goes all the way over the lip of the port. Then, clamp it down tightly. You want a good, firm connection that won’t slip off during the dishwasher’s drain cycle.
One quick test: run the dishwasher empty and watch the connection point. If you see any moisture forming, tighten the clamp again. A dry connection after the cycle means you’re all set.
Dishwasher Not Draining Completely
If you open the dishwasher after a cycle and see water pooled at the bottom, the drain path is blocked somewhere. Start by checking the filter inside your dishwasher for food debris. Then, move to the hose — it might be kinked or twisted.
Occasionally, the disposal itself is the problem. If the disposal is clogged, water has nowhere to go from the dishwasher. Run the disposal with cold water for a minute to clear any backups. Many experts suggest running the disposal regularly to keep that path clear.
Gurgling Sounds From the Drain
Odd noises usually signal an air flow problem. A gurgling dishwasher can mean your drain line is partially blocked. The water is struggling to push through, creating bubbles and sounds. Clear the drain line to see if that stops the noise.
Another possibility is that your high-loop isn’t high enough. The loop needs to be above the dishwasher’s water line to work properly. Raise the hose higher under the counter to give the loop more elevation. This often fixes the gurgling right away.
Step-by-Step Checklist for a Smooth Connection
Ready to install or fix the hookup yourself? Use this quick checklist to stay on track. It covers everything we’ve discussed in one handy list.
- Confirm the knock-out plug is removed from the dishwasher port on the disposal.
- Slide the dishwasher hose fully over the discharge port on the side.
- Tighten the hose clamp securely with a flathead screwdriver.
- Create a high-loop in the hose, or install an air gap if your code requires it.
- Run the dishwasher through an empty cycle and inspect for leaks.
- Listen for unusual sounds and check that water drains fully.
Work through each item in order and you’ll have a solid setup. If you hit a snag, don’t stress. Most issues are fixable with simple tools and a little patience.
Replacing Parts When Needed
Sometimes a connection part is just worn out. Dishwasher hoses typically last about five to ten years. If yours is cracked, brittle, or has a permanent kink, it’s time for a new one. This is an easy upgrade that can prevent future leaks.
Hose clamps also wear out. We found that cheap clamps can strip or rust over time. Spend a little extra on a quality stainless steel clamp. It’ll last longer and hold a better seal, so you won’t be back under the sink next month.
Why This Setup Matters for Your Kitchen Plumbing
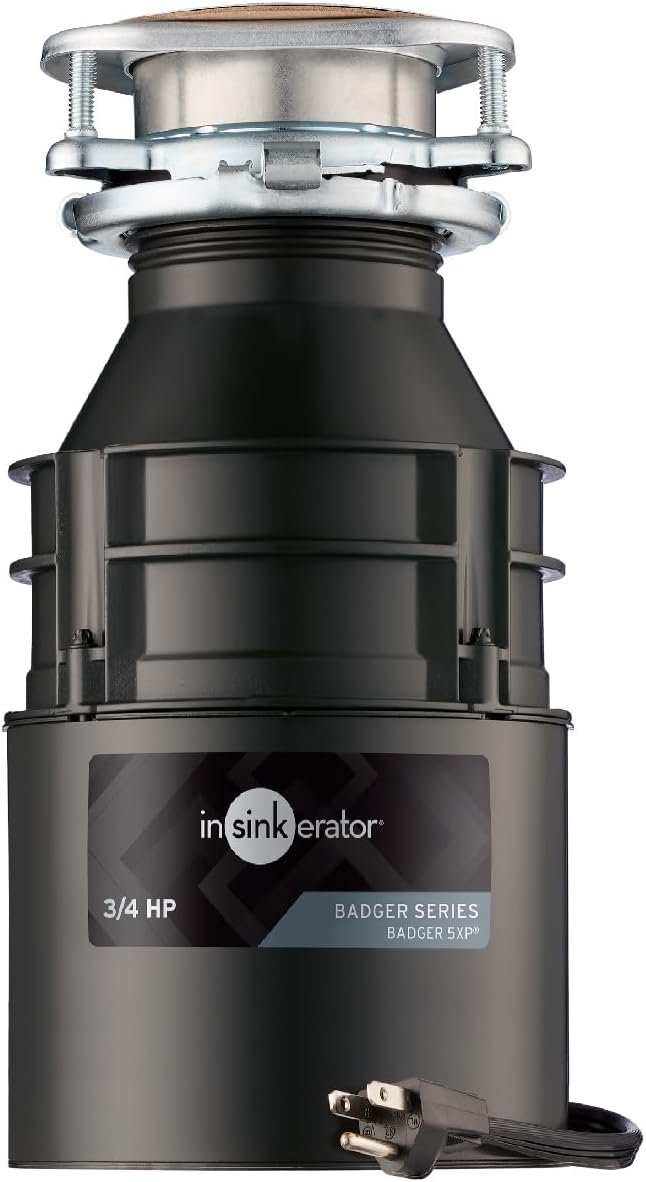
Having your dishwasher and disposal connected properly does more than just prevent leaks. It protects your entire plumbing system from serious blockages. Over time, food debris can build up in pipe walls and create stubborn clogs that require professional help. For a dependable unit that handles food scraps well, our review of the InSinkErator Badger 5 helps with choosing a reliable garbage disposal.
We continue to recommend this standard setup in every kitchen we look at. It’s reliable, code-compliant in most areas, and simple to maintain. And when you understand how it works, you’re better equipped to spot problems early.
So next time you run your dishwasher, you’ll know exactly what’s happening under your sink. That little hose is doing important work, carrying wastewater to the disposal and keeping your pipes clear. It’s a quiet hero in your kitchen’s daily routine.
Conclusion
You now know exactly how your dishwasher and garbage disposal work together. The hose connection is simple, but it plays a big role in keeping your kitchen drains clear. We walked through the knock-out plug, the hose clamp, and the importance of backflow prevention.
Most problems under your sink have easy fixes you can handle yourself. Check the plug, tighten the clamp, and make sure your high-loop or air gap is set up correctly. These small steps save you from costly plumber visits later.
Your next move is simple. Grab a screwdriver and inspect your setup today. Run an empty dishwasher cycle and watch for leaks. You might just catch a small issue before it becomes a big headache.
Frequently Asked Questions
Can a dishwasher work without a garbage disposal?
Yes, your dishwasher can still drain without a disposal. You’ll need a different setup where the drain hose connects directly to the sink drain pipe. You’ll also need a dishwasher tailpiece with a barbed fitting for the hose.
How do I know if the knock-out plug is already removed?
Look inside the dishwasher port on the side of your disposal. If you see an open hole, the plug is out. If there’s a solid plastic or metal piece blocking the opening, you need to remove it with a screwdriver and hammer.
Why is water backing up into my dishwasher?
A clogged drain line or disposal is the usual culprit. Food debris can build up and block the water’s path. Run your disposal with cold water for a minute to clear the line, and check the dishwasher hose for kinks.
Do I really need an air gap for my dishwasher?
It depends on your local plumbing code. Many areas require an air gap, but some accept a high-loop instead. Check with your local building department to see what’s required where you live. An air gap gives you the best protection against backflow.
Can I connect the dishwasher drain hose to the sink drain instead?
You can, but it’s not the recommended setup. Without a disposal to grind food particles, you risk more clogs in your drain line. If you don’t have a disposal, use a dishwasher tailpiece with a built-in hose connection to keep things flowing.