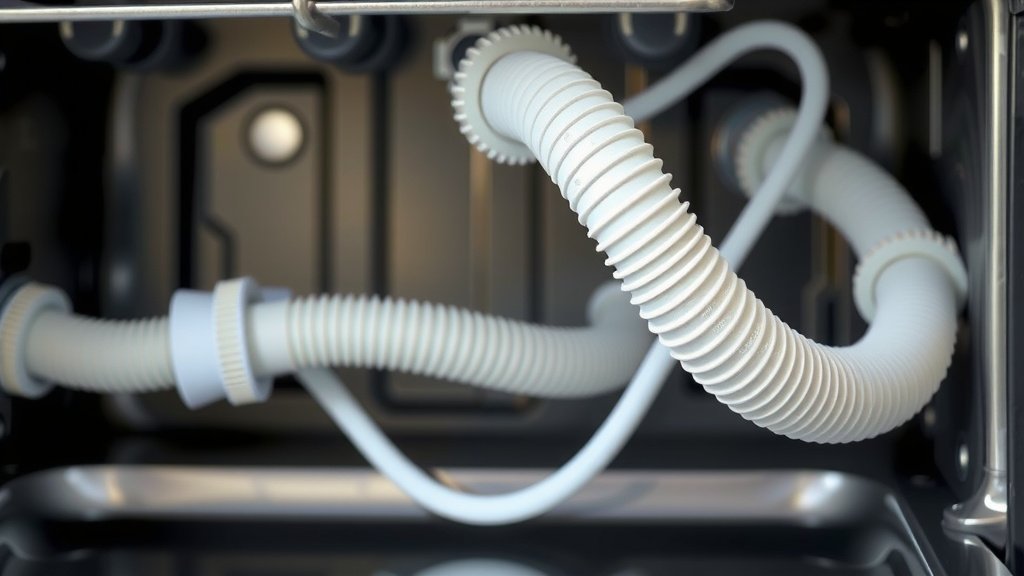
Dishwasher Drain Hose Installation Guide
Installing a dishwasher drain hose correctly is usually a straightforward DIY job you can tackle in under an hour. A proper installation ensures your dishwasher drains water efficiently and prevents messy leaks. We’ll guide you through the steps to get your dishwasher draining like a champ.
When setting up your dishwasher, the drain hose connection is a key step for proper operation. This hose carries dirty water from your dishwasher to your sink’s plumbing or garbage disposal. Making sure it’s securely fastened and properly routed is essential to avoid water damage and ensure your appliance works as it should, preventing common dishwasher problems.
TL;DR:
- Connect the drain hose to the dishwasher outlet.
- Secure the connection with a clamp.
- Route the hose to the sink drain or disposal.
- Ensure there’s a high loop to prevent backflow.
- Test for leaks after installation.
Let’s walk through exactly how to install your dishwasher drain hose step by step, making sure everything is connected right from the start.
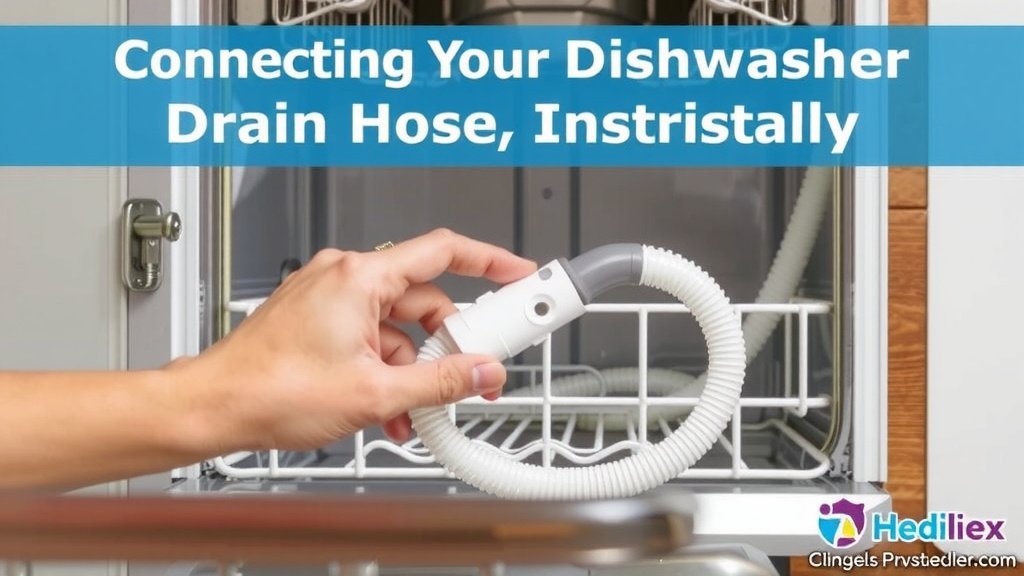
“`htmlConnecting Your Dishwasher Drain Hose Correctly
Getting your dishwasher drain hose hooked up right is a big deal for a leak-free kitchen. This hose is basically the dishwasher’s exit strategy for dirty water. If it’s not connected properly, you could end up with a watery mess on your floor. We’ll walk you through how to make sure this connection is **water-tight and secure**.
Gathering Your Supplies
Before you start wrestling with pipes, let’s make sure you have everything you need. Having the right tools and parts handy will save you a lot of **frustration and potential trips** to the hardware store. It’s like packing for a trip – you don’t want to get halfway there and realize you forgot your toothbrush.
Essential Tools and Parts
- Dishwasher drain hose (often comes with the dishwasher, but check your model’s requirements)
- Hose clamp (usually a screw-type clamp for a tight seal)
- Pliers (for tightening the clamp)
- Screwdriver (if your clamp requires one)
- Towel or bucket (to catch any residual water)
- Plumber’s tape (optional, but can help ensure a good seal on threaded connections)
Attaching the Hose to the Dishwasher
This is where your new hose officially joins the dishwasher. You’ll find an outlet port on the dishwasher itself, usually at the bottom or the back. It might look like a simple nozzle or a threaded fitting. Your new hose should have a corresponding end designed to connect here. Often, it’s a **rubber boot or a fitting** that slides right on.
Securing the Connection
Once the hose is pushed onto the outlet, you need to secure it. This prevents it from popping off under pressure, which would be a **disaster waiting to happen**. A hose clamp is your best friend here. Slide the clamp over the end of the hose where it meets the dishwasher outlet. Then, using pliers or a screwdriver, tighten the clamp until it’s snug. You don’t need to crank on it with all your might, but it should be **firm enough to prevent any movement**.
Many guidelines suggest checking that the clamp is evenly tightened all around the hose. We found that a hose clamp that’s too loose can lead to leaks, while one that’s too tight might damage the hose itself (Good Housekeeping Institute).
Routing the Drain Hose to Your Plumbing
Now that the hose is attached to the dishwasher, you need to guide it to where the water will actually go. This is typically your kitchen sink’s drain pipe or, more commonly, the **garbage disposal unit** under your sink. You’ll likely need to remove a knock-out plug if you’re connecting to a new garbage disposal. Consult your disposal’s manual for specifics on this if you’re unsure.
Connecting to the Sink Drain or Disposal
If you have a dedicated dishwasher drain connection on your sink’s plumbing (sometimes a separate small pipe), you’ll simply slide the end of the hose onto it and secure it with another clamp. If you’re connecting to a garbage disposal, there’s usually a specific inlet port on the disposal unit. You might need to use a screwdriver to **carefully tap out the small plastic plug** inside this inlet if it’s a new disposal or hasn’t been used before. Then, slide the hose onto the port and secure it with a clamp.
Creating the High Loop
This is a critical step that many people overlook, and it’s vital for preventing dirty water from flowing back into your dishwasher. This is called a **”high loop” or “air gap.”** You need to ensure the drain hose is routed upwards, as high as possible under your countertop, before it makes its downward connection to the drain or disposal. This creates a U-shape or a loop. The highest point of the loop should ideally be at least 20 inches above the dishwasher base (ENERGY STAR).
Why the loop? It uses gravity to keep the dirty water in the drain system. If the hose just runs straight down, dirty sink water could potentially siphon back into your dishwasher during the drain cycle, leaving you with **cloudy dishes and unpleasant odors**. Think of it like a high-five for your dishwasher – keeping the clean water up and the dirty water down!
The Importance of an Air Gap (Optional but Recommended)
Some local plumbing codes require an air gap fitting. This is a small device installed on your countertop or sink back. The dishwasher drain hose connects to the bottom of the air gap, and a separate, larger hose runs from the air gap to your drain or disposal. This provides an extra layer of protection against backflow and contamination.
While not always mandatory, an air gap is a smart addition if your setup allows it. It’s like having a bouncer at the door for your dishwasher drain, ensuring only clean water stays inside (Environmental Protection Agency). If you’re unsure whether you need one, it’s always best to check your local building codes or consult a plumber.
Testing for Leaks
You’ve done it! The hose is connected, clamped, and looped. Now comes the moment of truth: testing for leaks. It’s wise to run a short, empty cycle on your dishwasher to check your work. Keep an eye and a hand (carefully!) around all connection points. You’re looking for **any drips or trickles**.
What to Do If You Find a Leak
If you spot a leak, don’t panic! It’s usually a simple fix. First, try tightening the clamp a bit more. If that doesn’t work, you might need to reposition the hose to ensure it’s seated properly on the outlet or fitting. In rare cases, the hose itself might be damaged, or the clamp might not be the right size. If you’re having trouble identifying the source or fixing the leak, it might be time to **call in a professional**.
Quick Checklist for a Secure Drain Hose
To make sure you haven’t missed anything, run through this quick checklist:
- Is the hose securely clamped to the dishwasher outlet?
- Is the hose properly connected to the sink drain or garbage disposal?
- Is there a high loop in the hose, reaching at least 20 inches high?
- Are all connections free of visible debris or kinks?
- Have you run a test cycle and checked for leaks?
Following these steps should ensure your dishwasher drain hose installation is a **success**, keeping your kitchen dry and your dishes clean.
“`Conclusion
You’ve successfully installed your dishwasher drain hose! Remember, a secure connection and proper high loop are key to preventing leaks and keeping your dishwasher running efficiently. Taking these steps ensures dirty water leaves your appliance and doesn’t find its way back. This DIY fix is a money-saver and a great way to gain confidence in maintaining your home appliances. Now that your dishwasher is draining properly, you can get back to enjoying sparkling clean dishes without worry. If you encountered any persistent leaks or issues, don’t hesitate to consult a professional plumber.
Frequently Asked Questions
How tight should the dishwasher drain hose clamp be?
You want the clamp to be snug enough to create a secure seal, but not so tight that it damages the hose. Research suggests that overtightening can cause the hose to split or crack over time, leading to leaks. Aim for a firm fit that prevents any movement or slippage.
What’s the easiest way to create the high loop for the drain hose?
The easiest way is to route the hose upwards towards the underside of your countertop before it drops down to the drain or disposal. You can often use existing brackets or clips under the sink to hold the hose in this elevated position. Some homeowners even use a zip tie or a small hook to secure the highest point of the loop.
My garbage disposal is new, and I don’t know how to connect the hose. What do I do?
New garbage disposals usually come with a knockout plug in the dishwasher inlet port. You’ll need to carefully remove this plug before connecting the hose. A screwdriver is often used to gently tap out the plug. Always refer to your specific garbage disposal’s manual for instructions on this step.
Can I reuse an old dishwasher drain hose clamp?
While you might be able to reuse an old clamp, it’s generally recommended to use a new one for a reliable seal. Older clamps can become corroded or lose their tension over time. A new hose clamp is inexpensive and provides peace of mind against potential leaks.
How often should I check my dishwasher drain hose for issues?
It’s a good idea to visually inspect your drain hose connections and the high loop periodically, perhaps every few months. Also, pay attention to any unusual noises or smells coming from your dishwasher, as these could indicate a draining problem. A quick check during your regular kitchen cleaning routine can catch minor issues early.